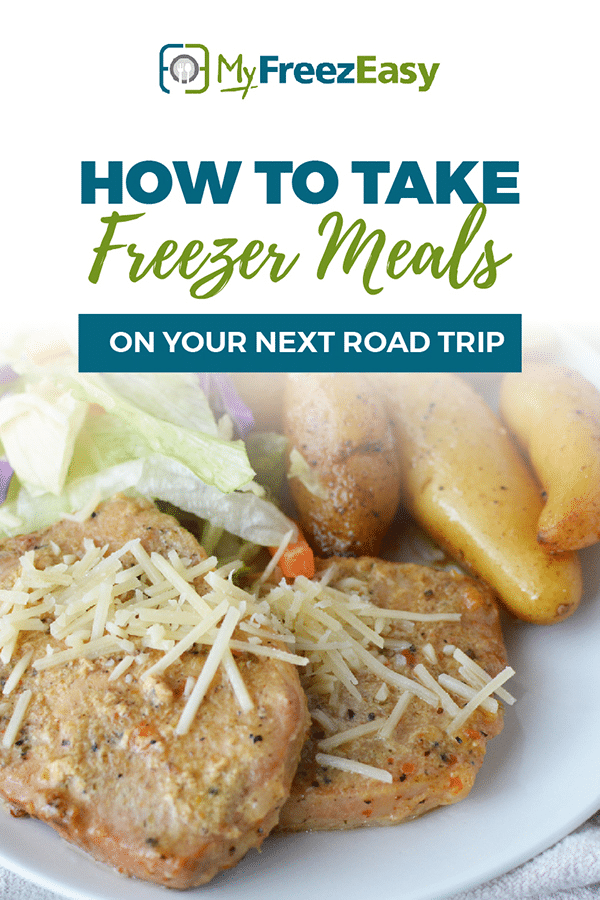

Road trip freezer meals are the best kept secret to feeding your family wholesome meals while traveling!
Family Travels: Why You Need Freezer Meals
Traveling is amazing. Especially with your whole family. You get to explore different places and make new memories. You take beautiful pictures and post them for all your friends to see.
You know what those pictures don’t show? That moment that everyone starts to fall apart. It’s never an exact time, because that would be too easy. It’s sometime between lunch and dinner though. It’s a typical witching hour for the young kids, but even the older kids (a.k.a. grown ups, a.k.a. even uncle tom) are starting to be less pleasant by the minute. You see it coming, and you know you’ve got some options and you need to think quick and take action.
Option 1: Eat an early dinner with the 548 other people that are feeling just as hangry as your bunch. Dinner reservations? Sure! Your table will be ready in about 2 hours. When you finally get to the table, you realize you’ll be using up half of your spending budget on this one meal that isn’t even enjoyable because Uncle Tom really can’t get it together after that long wait.
Option 2: Take a deep breath and remember that dinner is already cooking and will be ready by the time you get back to the place you are staying.
I know, you are probably wondering what parallel universe option 2 is available in.
But the truth is, it’s not that far-fetched and it’s available to YOU! Right here, right now.
Option 2 can be possible in your life with the life-changing help of freezer meals.
If you aren’t familiar with why freezer meals are the best thing since sliced bread – you could check out this post about all the benefits of freezer cooking. Just be sure to come back here so you can utilize these magical freezer meals on your next trip!
Step 1: Make a Freezer Meal Plan
If you want to take some freezer meals on your next trip, the first thing you need to do is make a freezer meal plan.
Find the Recipes
First you have to find recipes that your family loves and that are freezer meal friendly. Pinterest is a great resource for this, but it is sometimes hard to find recipes in specific categories – slow cooker freezer recipes, freezer cooker recipes with specific ingredients or that follow specific eating plans.
Make a Shopping List
Once you find all of the freezer meals that you want to make, you have to make a shopping list. Compiling this list gets tricky – especially if you want to double a recipe or make a certain number of servings. Often recipes call for the same ingredients – so make sure you write down what is necessary for each recipe!
Shop
Did you create your shopping list based on where the ingredients are in the store? If not, you can find yourself circling back for items you forgot!
Another option is to load up your shopping list to your grocery store’s pickup service (if that’s available in your area.)
Label Your Bags/Trays
Don’t forget to label all of your freezer bags with the name of the recipe, the date you made it, and any special cooking instructions needed for that recipe! I like to write what sides I usually cook with the dish- that way I don’t have to think about it on the day I am making the meal!
Prepare the Meals for the Freezer
Now that you have all of the ingredients, you have to figure out which items go with which recipes- and what steps you need to take to prepare the freezer portion on the meal. If you are making a lot of different dishes, or doubling and tripling recipes, it can can get complicated to keep them straight.
Whew, that is a lot of steps! And it can take a lot of time too.
There has to be an easier way, right? Well there is!
MyFreezEasy makes the whole process quick, easy, and even fun!
Step 2: Storing Freezer Meals
Flat Freezing to Save Space
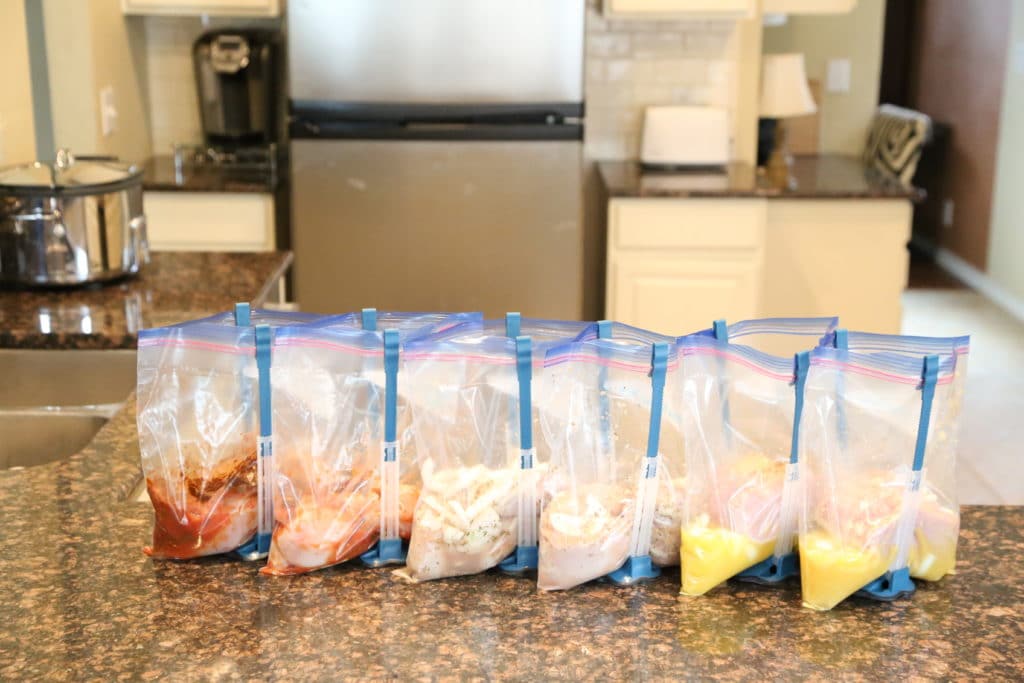
Freezer space is prime real estate in my kitchen! If you are looking to save some freezer space, I recommend “flat freezing” your freezer baggies.
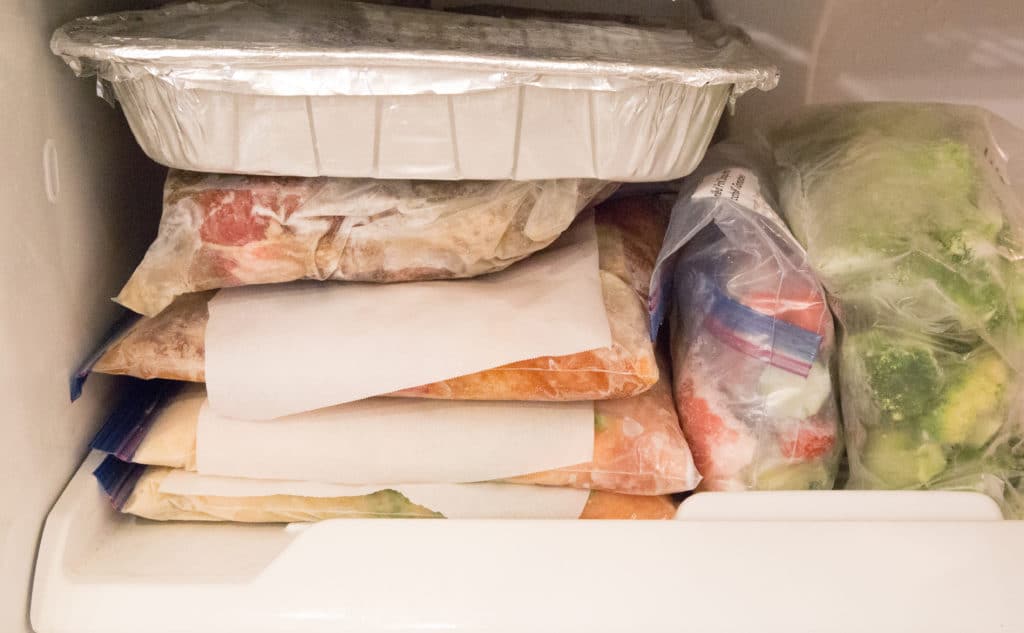
After putting all your ingredients in the freezer bag, remove as much as you can by pressing air bubbles out of the bag. Then, stack baggie meals together and place in your freezer.
If you’re worried about the bags sticking together (this has only happened to me in my deep freezer, never in the fridge freezer!), then you can add a small piece of wax or parchment paper in between the bags.
How to Organize Freezer Meals in a Deep Freezer
Basically, you want to Konmari your freezer!!!
Let me just tell you…digging around in your deep freezer, trying to find freezer meals that you stacked nicely to freeze isn’t always easy. They easily get buried by other meals, bags of ingredients and other items you have in the freezer. When it comes time to fish one out, I just dreaded it. You start digging. Pulling things out, one at a time.
Then you think about calling off your deep freezer search for the freezer meal you want…because your fingers are about to freeze off. So instead of digging farther, you just grab the meal that’s on top and go with that for dinner instead of the meal you set out to find.
I knew I needed a better system for these stacked freezer meals.
In the past, I’ve tried to fit a box from Costco…but it was too large. So when this perfectly size box showed up from Amazon, I took action, wrapped the folding tops in duct tape and made a “taller box” to hold our freezer meals upright. So they are easier to find and grab!!!
See – Konmari-ed – where everything is easy to see and pull from the box!
And no more frozen fingertips from digging through the freezer!
How to Stop Freezer Meal Bags from Sticking Together
Imagine you’ve made a set of fantastic freezer meals.
All the ingredients were carefully loaded into their bags. The labels were printed and stuck on the bags. You happily stacked your meals into the freezer with a smile.
BUT.
You go to pull out your favorite meal a few days later and… all the bags are STUCK.
As you try to pull the bags apart, they tear.
Now you’ve got a big mess. So much for stress free dinner, huh?
Nope. This isn’t your story.
Let’s rewind.
After you prepped the meals, you stacked them into the freezer with a sheet of parchment of paper between each one.
Parchment paper.
Or wax paper.
Or a piece of foil.
Yes, it’s that simple!
Also, don’t forget to stand up your meals in a box once they are frozen, so you’ll be able to easily grab them from your freezer!
Step 3: How to Cook Freezer Meals
Slow Cooker Freezer Meals
Freezer to Slow Cooker Meals are the BEST MINDLESS way to do dinner. Drop them frozen into the slow cooker in the morning and you’ve got dinner waiting at the end of the day. They are the perfect solution for getting a delicious and healthy meal on the table on busy weeknights.
With freezer to slow cooker recipes, dinner is even more hands-off and hassle-free.
The practicality and simplicity of make ahead freezer meals is undeniable. They are cheaper than fast food, faster than sitting in the drive thru, and the health and nutrition of these meals surpasses the other fast-food options out there.
These recipes are the secret to the fastest possible meal at home by combining the convenience of freezer meals with the practicality of quickly pulling together simple, delicious ingredients that freeze well and cook well, so you end up with an amazing dinner waiting for you when you get home – it’s a magical methodology that will change the way you operate in the kitchen.
Freezer to slow cooker meals will help you spend less time in the kitchen, and more time doing what you love. They will help you eat healthier and save money on groceries too.
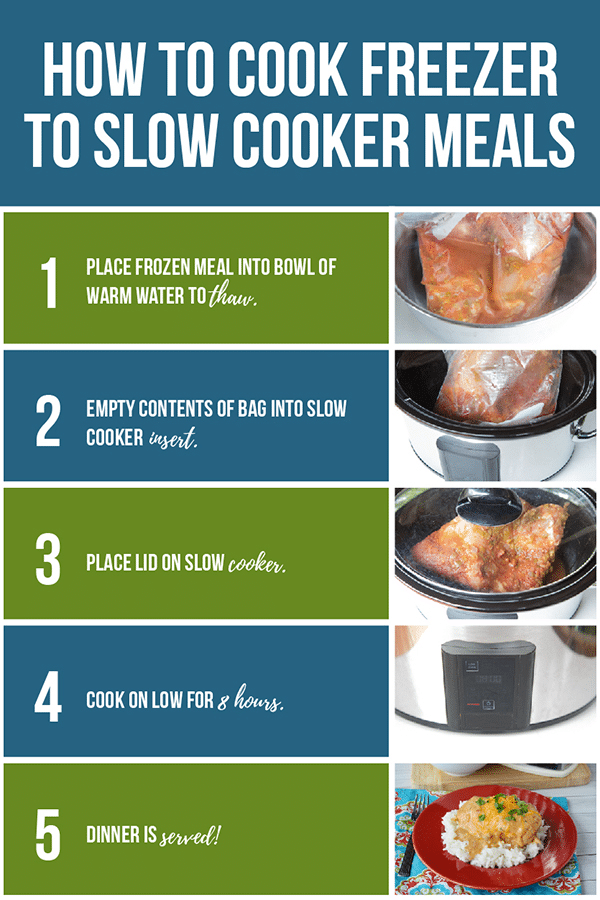
Step by Step Instructions
- Pull meal from freezer and thaw in warm bowl of water for five minutes. You want to get it thawed enough to separate the ingredients from the bag.
- Pour the contents of the bag into the slow cooker insert.
- Put the lid on.
- Set slow cooker on low for at least 8 hours.
- Viola! Dinner is served.
Instant Pot Freezer Meals
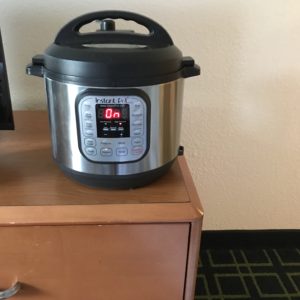
Instant Pot freezer meals are your best bet for fuss-free dinners. Plus, you get dinner on the table in a flash! Like, less than an hour.
Yes. It’s possible.
Totally possible to take a rock solid, frozen ball of delicious to warm bowl of chili in 58 minutes.
As a matter of fact, you’ll be ladling it into serving bowls in 58 minutes. You’re going to need an Instant Pot or electric pressure cooker. Times and notes below based on Instant Pot DUO, 6 qt.
Step by Step Instructions
- Fill freezer bag with ingredients using, using FreezEasy Bag Holders.
- Seal bag and place into round bowl, that is smaller in diameter than your electric pressure cooker insert.
- Place bowl and meal into the freezer and let freeze overnight. Remove bowl once it’s the “frozen ball of delicious” is formed.
- When you are ready to make the chili, place it in a bowl of warm water for 5 minutes to “quick thaw.” This is just to loosen the frozen food from the baggie.
- Pull the bag out of the bowl of warm water and open it up. Flip it upside down directly into the electric pressure cooker insert. Add 1 to 2 cups of water or broth.
- Put the lid on and set to Sealing. Push the Bean/Chili button. (Or Manual, High for 30 minutes.)
- Wait 23 minutes for it to come to pressure, then wait 30 minutes to finish cooking.
(This is a longer than normal come to pressure time because the meal is frozen. It will be defrosting during the come to pressure phase.)
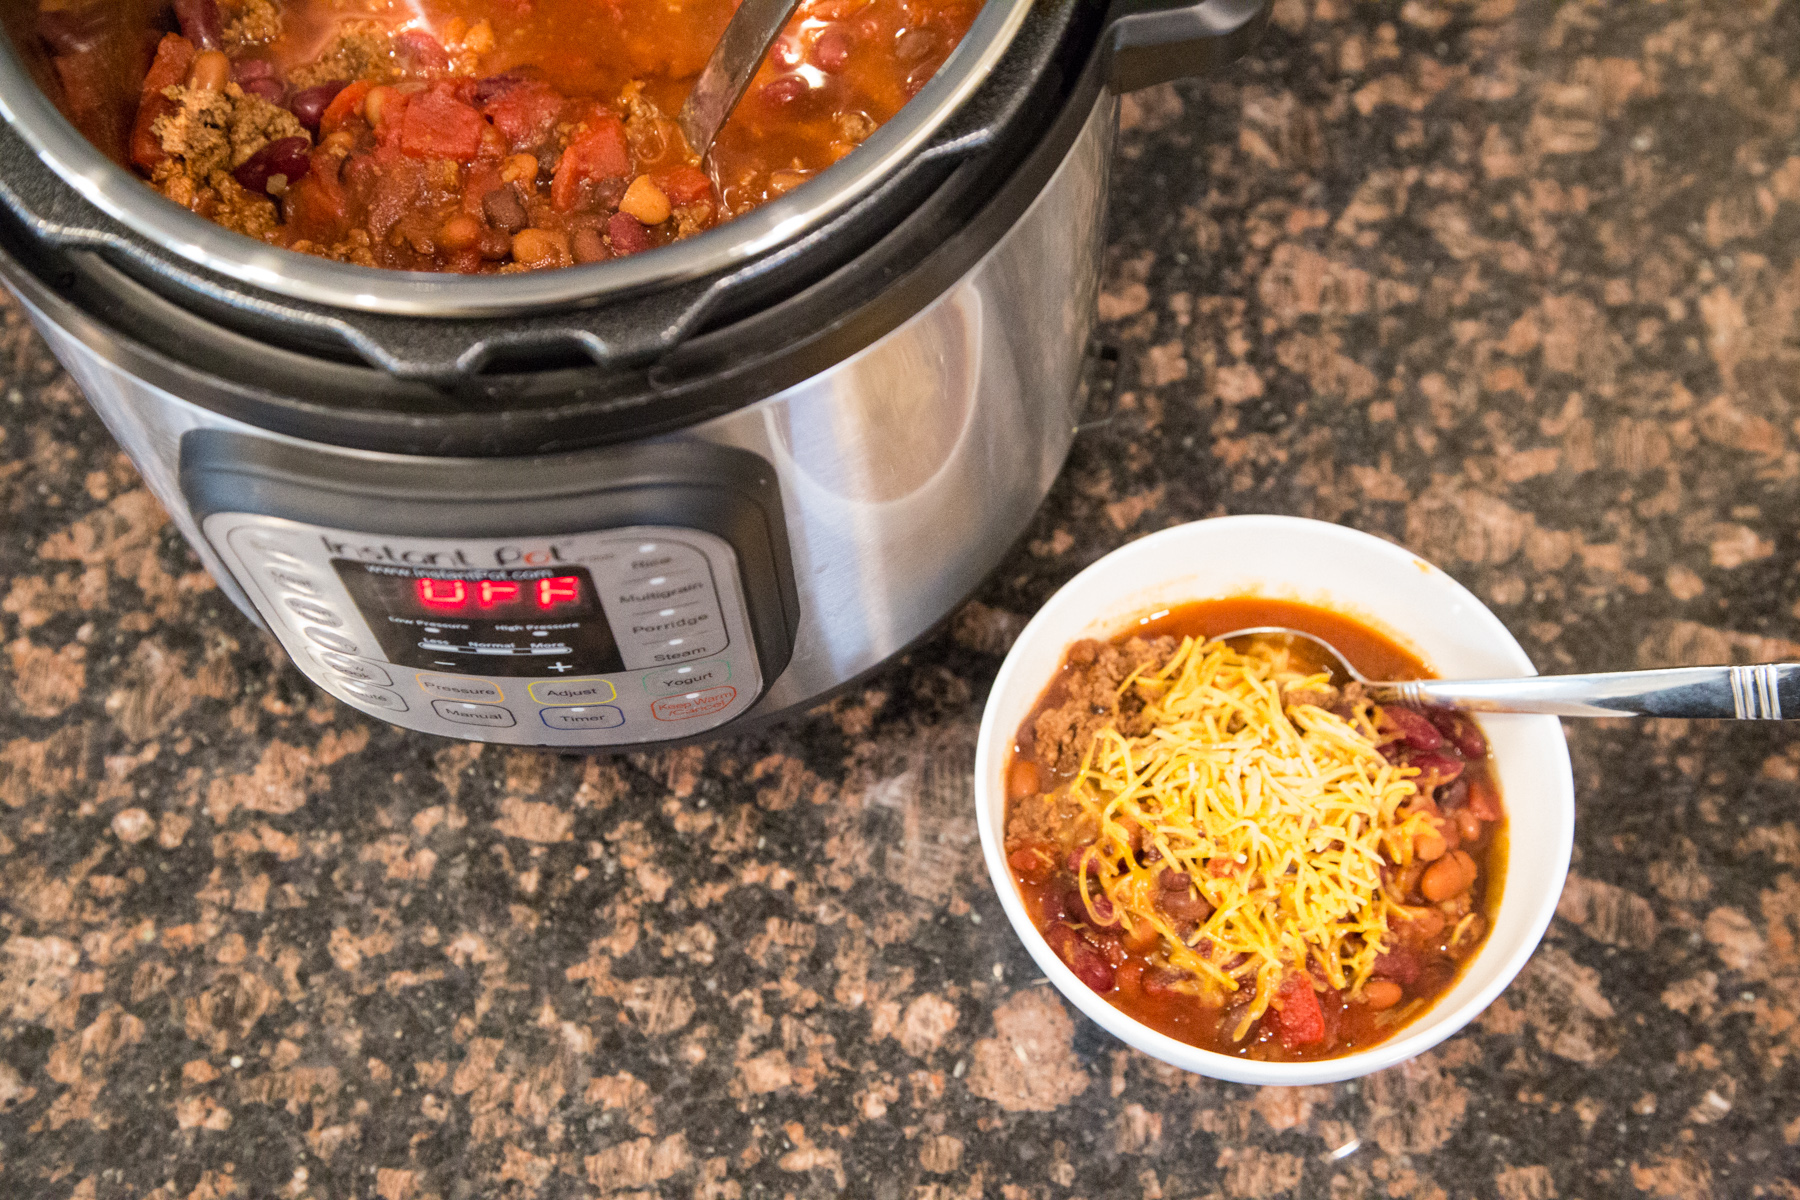
58 Minutes.
That’s it.
Start to finish. From frozen solid to ladling into bowls.
With about 3 minutes of “hands on time.” Most of the defrosting and reheating happens inside the electric pressure cooker.
Tip: Essential Freezer Cooking Tools & Resources
Preparing freezer meals would be the first step in getting easy dinners done on a road trip.
They allow you to skip the super expensive tourist restaurants, theme park food, and drive thru lines. Then you have the flexibility to pick and choose which meals to splurge on as a treat! Plus, you know that the food you are providing is healthy and real. (Not to mention how much easier it is to accommodate food allergies if you bring your own food!)
Taking freezer meals on the road also keeps the stress down and helps keep your energy level up. You get to be one step ahead of those scary/hangry “What’s for dinner?!?” moments. Plus, you don’t have to stand in the kitchen cooking after a long day of driving or exploring. (Double win!!)
One of our members also shared how nice it is to have a few meals in your freezer for when you get BACK home from your road trip…
“Happiness is… coming home from vacation, tired and totally not wanting to shop or cook after a week of eating out, and pulling three freezer crockpot meals out to get you through the next few days. P.S. all eleven of us loved Lazy Lasagna Bake while at the beach house.”
Tip: Foil Pack Meals
Ah, foil packs. They are one of the best kept secrets of freezer meals, in my opinion. They open up a variety of possibilities for many common dinnertime struggles. Serving size is never an issue, because you can pull out as many servings as you need for each meal. Dietary preferences or allergies are easier, because you can put different ingredients in each pack.
How to Freeze Foil Pack Meals
I prepare the packs as directed in the recipe and then place them onto a flat baking sheet in the freezer. Let them freeze (2+ hours) and then transfer the frozen foil packs to a baggie and tuck back into your freezer. Freezing them flat will help the food stay flat, and this also reduces the risk of the foil tearing.
(Note: I use regular foil for these all the time, but heavy duty foil would be a great option.)
I love that these meals are pre-portioned and you can toss just about any side dish with them. This is helpful for adjusting serving sizes! For example, you could pull out extra packs if you have company, or less if maybe some of your crew is out of the house for the evening.
Most of the MyFreezEasy foil pack recipes are a protein, sauce and veggie. We are sharing more and more into the Freezer Meal Plan Builder as we go add to our database! You can view our full database of recipes here.
How to Cook Foil Packs in the Instant Pot
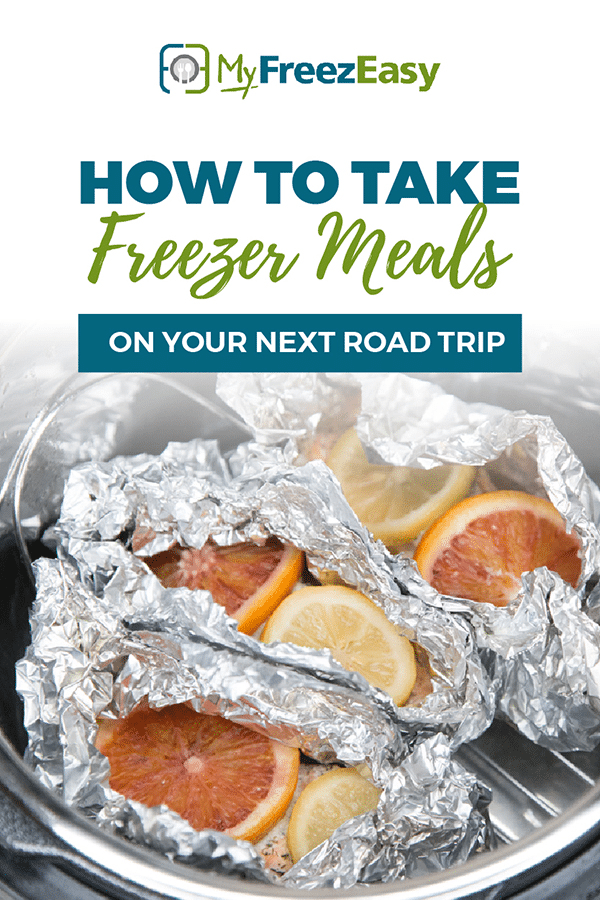
Instant Pot Citrus Salmon Foil Packs
That’s right – drop those foil packs into the Instant Pot and let it take care of the cooking for you.
Because the way that an electric pressure cooker uses heat and pressure to cook, this salmon turned out beautifully with just the right amount of flavor soaked into the salmon and a lovely citrus-dill juice around it in each pack. Simply delightful!
With these foil packs, the time will vary based on the thickness of the salmon and how many packs and the size of your IP. I easily fit 4 of these foil packs, 2 layers deep, into my 6 quart Instant Pot. If I were going to make 6-8 foil packs, then you’ll need to use an 8 quart size. I cooked 4 foil packs in 6 Qt. IP for 18 minutes and they were perfect. If you go to cook yours and they aren’t quite finished, just put the lid back on and add a few minutes and let finish cooking. If you want to err on the side of caution, add a few minutes to make it 20-21 minutes…you won’t have to worry about drying out or overcooking because the salmon is wrapped in foil and “steaming” inside, and there is plenty of juice from the fruit slices.
Note: I ALWAYS recommend thawing all seafood completely before cooking it, and this holds true for these as well. You can freeze these foil packs in advance, but if you’re going to cook the in the oven/grill/IP, you definitely want the salmon to be thawed completely before cooking. If you want more information about freezer to Instant Pot meals, read this!
And finally, because salmon is more expensive that other meaty proteins, I always pair it with inexpensive side dishes like rice and whatever veggies were on sale in the produce or freezer departments.
Opening Your Foil Packs: Use Caution!
Whether you’ve cooked your foil packs out on the grill, or in the Instant Pot, you need to be careful when opening them as hot hot hot steam will release from the pack. You can slit the foil towards the top with a small knife, or you could carefully create an opening in the top of the foil. Let the steam escape before opening completely.
Quick Travel Tips
- Pack up that slow cooker (or Instant Pot!) Slow cooker meals are perfect while staying in a hotel or condo. The meals cook while you play! (Use slow cooker liners for easy clean up.)
- Take some extra storage bags for leftovers.
- Foil pack meals are perfect for camping. Check out my post on foil pack recipes here.
- Order groceries to be delivered to your vacation spot after you get there, if available in the area. No need to waste time shopping while on vacation!
- Prepare snacks for the road before you leave.
Put an end to dinnertime stress with MyFreezEasy
It’s more than freezer meal plans…
You choose the recipes your family likes, then MyFreezEasy pulls them together and gives you a customized meal plan with:
- complete recipes plus doubled version to freeze so you can easily prepare and cook your meals
- shopping lists so you can get in and out of the store
- streamlined assembly instructions so you can spend as little time as possible on the freezer meal prep
- downloadable labels with directions for cooking so you know what to do when its time to cook/reheat the meal!
You can create your customized meal plan from your computer, or even from your phone while you are at the grocery store!
Click here for more information about becoming a MyFreezEasy member!
New to freezer cooking? I have the perfect workshop for you – just fill out the form below!
